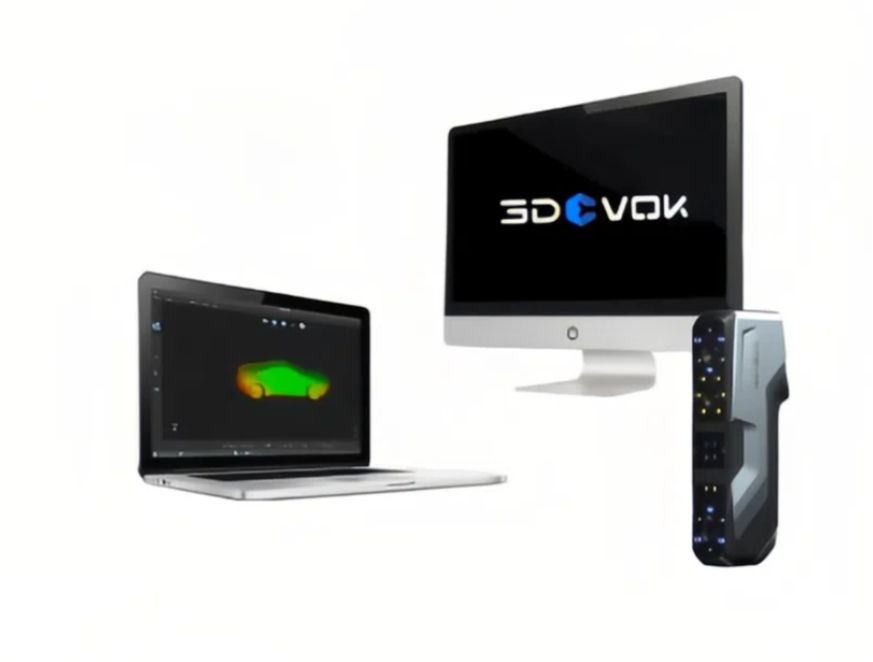
The modern 3D scanner is the most important tool for turning the real world into accurate, useful digital models. If you want to reverse engineer complicated mechanical parts, make a perfect digital archive of cultural heritage, or quickly make new products, you need a strict, professional workflow to be successful. Using the latest technology from companies like 3DeVOK guarantees not only speed and efficiency, but also the high level of accuracy that today’s industries need.
Using a professional-grade system requires more than just clicking and pointing. It takes careful planning, careful preparation of the objects, and expert post-processing. This guide shows you how to use high-end 3D digitization tools in a step-by-step way that will help you get the most out of your 3DeVOK solutions.
Setting Up Your Structured Light 3D Scanner Before Scanning
Before data collection can start, it is very important to set up both the hardware and software properly to keep the data safe and get the highest frame rates.
System Configuration: Professional 3D scanners need a lot of processing power. Make sure your workstation meets the best standards. It should have a fast CPU (like an Intel i7 or higher), 32GB or more of RAM, and a separate NVIDIA discrete graphics card (like an RTX 3060 or higher). This setup makes sure that the software that comes with it can handle the huge, real-time point cloud data.
Installing and calibrating the software: Install the proprietary scanning software, like 3DeVOK Studio, and connect the device to the required high-speed interface, which is usually USB 3.0. Calibration is the most important thing to do before a scan. This process, which involves scanning a special calibration board, finds out the exact shape of the camera and projector system. This step in the calibration process makes sure that the structured light 3D scanner keeps its great basic accuracy, which can be as good as 0.04 mm in high-precision modes. Calibration needs to be checked often, especially after moving the device a lot or before a very precise inspection project.
Getting the object ready and aligning it strategically
To do a good job of 3D scanning, you need to prepare the object properly and have a plan for how to align it. The goal is to get the scanner to do its best job of tracking its position and getting clean surface data.
Surface Preparation: Traditionally, highly reflective or jet-black surfaces required a temporary matte spray to prevent data distortion. However, modern devices like the 3DeVOK MT/MQ series are engineered to handle these challenging materials directly, eliminating the need for spray and significantly streamlining reverse engineering workflows.
Alignment Strategy: High-performance systems utilize advanced hybrid alignment technology, which determines the scanner’s position by simultaneously recognizing:
Geometric Features: Unique shapes of the object, such as corners and holes.
Color & Texture: Visible patterns and colors on the surface.
Markers: Small, reflective targets strategically placed on or around the object.
Marker Placement: Markers are crucial for large objects, those with few features (like a simple sphere), or multi-part assemblies. Ensure markers are evenly spaced (as software recommends) and that scan areas overlap sufficiently for accurate stitching in post-processing. With hybrid alignment, professionals can achieve precise volumetric measurements even with a reduced number of markers.
Getting Data: The Core Scanning Process
The core process of data acquisition starts once everything is ready. The structured light 3D scanner shines a series of light or laser patterns onto the object, and two or more cameras record how the object changes shape.
Select the appropriate scan mode: blue laser for small, detailed features, or infrared structured light for large objects and bodies, which offers a wide field of view and rapid capture of up to 4.5 million points per second.
Maintain the optimal scanning distance (150–1000 mm) using integrated software like 3DeVOK Studio, which provides real-time visual feedback—green indicates ideal positioning, while red signals the scanner is too close or far.
Ensure smooth scanner movement with at least 30% frame overlap for accurate software registration. Monitor the real-time point cloud display to identify and fill any gaps, moving slowly and deliberately for complete coverage.
Making changes and improvements to the digital model
The final step uses bundled software to process raw data into a usable digital asset. The platform automatically registers scanned parts using features or markers, featuring a “frame-by-frame undo” to correct errors without rescanning. It then converts data into a sealed polygon mesh (STL/OBJ), using algorithms to create a solid surface. Final optimization includes mesh simplification, smoothing, and hole-filling. The result is exported in standard formats (e.g., STL, OBJ) for CAD or metrology software.
Actionable Insight: Getting Professional-Quality Results with 3DeVOK
Following this professional workflow, people who use the 3DeVOK system can quickly and reliably go from a physical object to a high-quality digital model that has been analyzed. A professional, structured light 3D scanner is easy to use and can do a lot of different things, which makes the hardest parts of digitization easier. Engineers, artists, and dealers all need to know how to do this process well so that the digital assets they create are always correct, complete, and ready to meet the high standards of modern industrial and creative uses.
